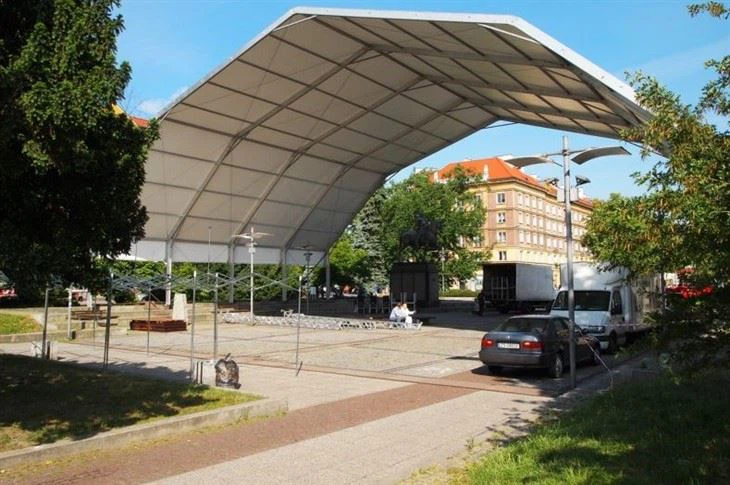


Custom Event Tent
Aluminum alloy industrial tent adopts modular structure design, which is more beautiful than traditional buildings, but also safe and stable, easy to transport. In addition, the advantages of aluminum alloy industrial tents are obvious and prominent,
including: a variety of sizes: the span of common aluminum alloy industrial tents is from 3 meters to 80 meters, and the shape of chevron, spires, arcs, polygons and other options can be applied to all kinds of large-scale exhibitions, activities and storage and other outdoor temporary buildings.
Second, the structure is stable: the 6082/T6 aluminum alloy profile used by Tendars improves the stability of the aluminum alloy industrial tent.
Building steps of the tent:
The first step: building site lofting and fixed base according to the specifications of the tent used, the size of the overall tent building layout. First of all, the layout is carried out in the construction site, and all the base chassis must be in a horizontal line. Confirm the position of all the bases and fix the bases after confirmation! (Note: The construction site must not have buildings and vegetation that hinder the construction.)

Step 2: Place the materials. Refer to the installation instructions, and place the materials of each part at the joint of the corresponding assembly according to the connection relationship and construction position of each part.
The third step: Composite frame 1, ridge connection Angle and diagonal beam installation: insert the ridge connection Angle into the left and right diagonal beam, and then tighten with bolts 2, bearing column and diagonal beam installation: the bearing column and diagonal beam assembly and alignment holes, tighten with bolts 3, bearing column and base installation: The pin holes of the bearing column built-in parts are aligned and inserted into the cylindrical pins, and then locked with the opening lock, and so on, both sides of the corresponding connection to complete the installation

the fourth step: erect the frame to install the two lifting belts respectively on the inclined beam, with traction equipment (such as: Crane) through the correct and safe link between the traction shrink and the inclined beam, erect the first set of frames, and the other side must have a backpull rope to prevent excessive traction and anti-tipping. (Note: When the first set of frames are erected, it must be fixed with a cross brace)

Step 5: Install the eaves and roof square pipes. Hang one end of the bend hook of the eaves square pipe into the corresponding U-buckle of the already erected frame, and then lift the other end into the corresponding U-buckle with a fork rod (note: the left and right sides should be carried out in correspondence), and then hang all eaves and roof square pipes in the same way.
Step 6: Install the gable middle column and side column. Align the inside of the right Angle of the gable middle column with the cylindrical hole on the connecting Angle of the roof ridge, and link it with bolts. The bottom end should be connected to the base, locked with a cylindrical pin, and then install the focus column in the same way (note: the base is not fixed first).
After installation, adjust the middle and side columns according to the flatness of the construction site, and then fix the base when maintaining a stable state of parallel!
Finally, as long as the tarpaulin is installed, the tension rod is inserted into the side wall or gable tarpaulin under the side slot, both sides are fixed on the base, and a comprehensive inspection can be completed to build the tent!
Hot Tags: car garage tents, China, manufacturers, suppliers, factory, buy, cheap, price, customized, discount, made in China


